Holley Rebuild
Refresh your page with F5.
Revised Dec 02, 2015 added 3310-2 pics

Click on thumbnails for larger picture
Other Holley info after
the rebuild section
Holley
3310-2 / 4555 Rebuild
OEM 780 CFM List 4555
Carb Intake Studs
GM Carb Stud - total length is 1 7/8"
Believe it or not, I needed to run 5/16-18 NC
die on the ones I bought since they were too tight to screw into the intake.
The 5/16-24 NF was cut correct.
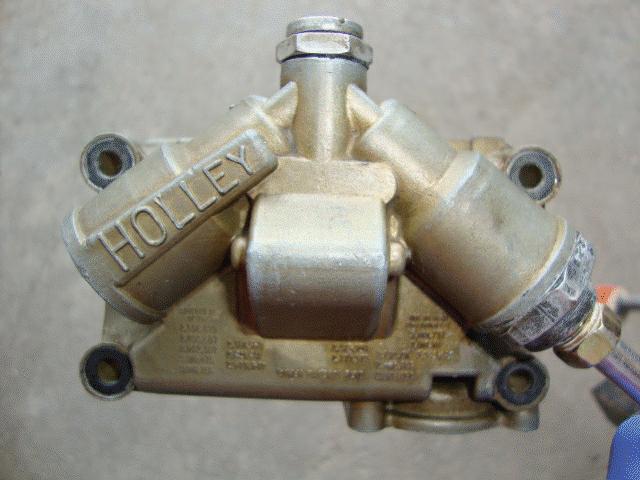
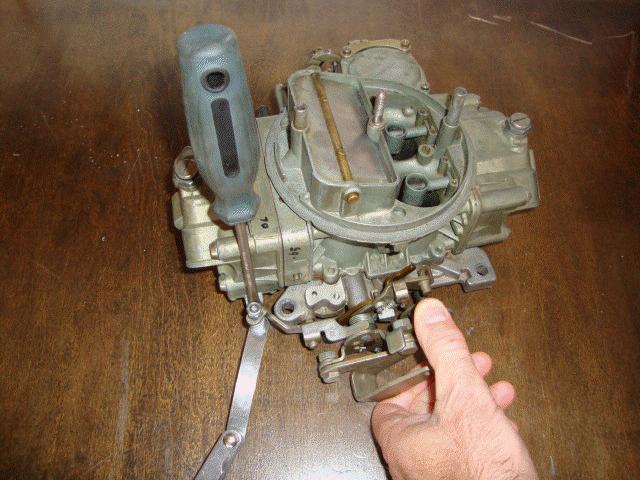
The 3310 below is my spare carb. At the time my 780 cfm did not require a rebuild, so I
just used my spare to take apart and snap shots.
The principle is the same
except there is no rear metering block on a 3310-2 750 cfm Holley.
I will add 780 pics when I need to tear down my 780
for problem resolutions.
4555
3310-2
Remove 4 fuel bowl mounting screws. If your going to just swap jets or change
gaskets while the
carb is still on the car, then remove one of the lower
bolts 1st and drain the fuel into a funnel/container.
3310-2 Front Bowl/Metering Block
pry front metering block &
remove gasket and remember orientation for new one
4555
4555/780 cfm front metering front block/bowl/baffle
4555
3310-2
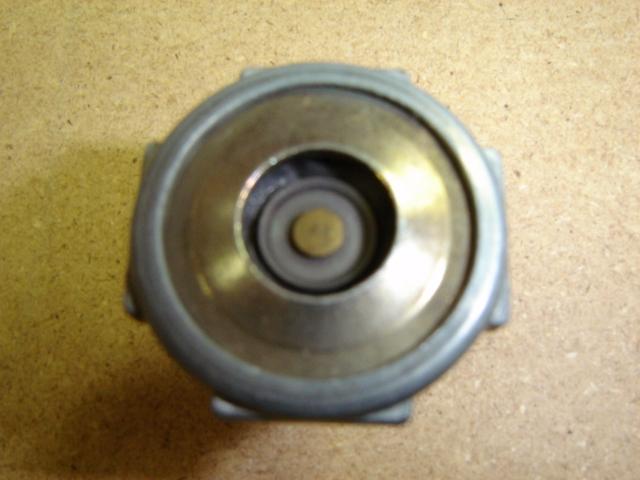
Remove power valve
views using a 1" socket (780)
Now test the power valve for leaks.
Place a spark plug boot tight against the front and suck the air out and
using your tongue
see if it stays closed. If it holds, then it's still good.
Clean gasket surfaces and clean all holes/passages
with carb cleaner and blow passages
out with compressed air, then install power
valve.
Place in a vise with wood on each side
of the vise jaws so you don't damage it and
using a 1" socket install/torque.
Note gasket type.
When installing, tighten
to the following specs. For
power valve with multiple drilled fuel opening, torque to 40-50 inch pounds.
For power valve with 2 rectangular fuel openings, torque to 100 inch pounds.
Metering Block
3310 front metering block -
note gasket orientation pins
jet side
metering valve side
(Note: 3310-2 has no metering block on the rear, but you can
add one)
Order Holley Part # 34-13 it


|
No Provision For Power Valve | |
|
Allows The Use of Metering Jets | |
|
Includes Gaskets And Longer Fuel Bowl Screws |
4555 remove rear bowl


clean parts, and remove power valve, then reinstall power valve
3310-2


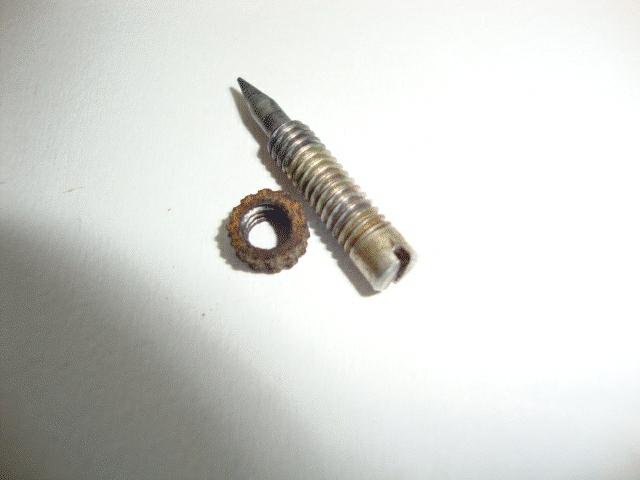

Remove front idle mixture screws, 2 per front metering block, and change cork gaskets. You can use a 7/32" drill bit to push it all the way in.
Install screw all the way in clockwise until it lightly touches the end (don't over do it or the point will get damaged.
Turn both screws out 1.5 turns counter clockwise for initial startup.
3310-2 Jets (Same procedure for both carbs)


There are 2 per metering block front/rear (none on the rear of a stock 3310-2)
Using a thick straight screwdriver, remove both jets, there are no gaskets here.
Front 780 jets are 70 and rear are 76.
4555 Jets


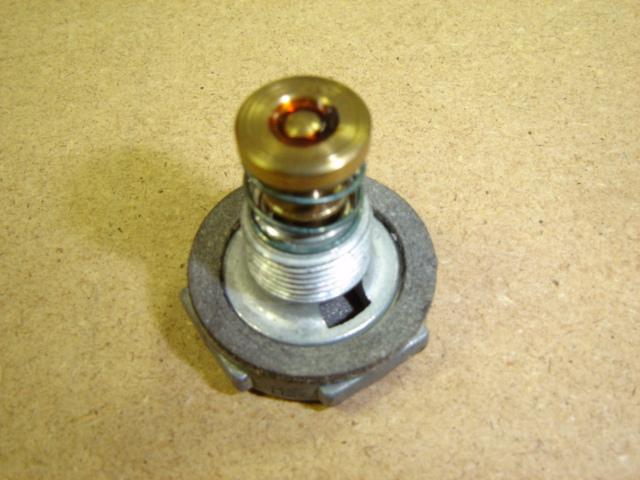
Needle and Seat (Same procedure for both carbs)


Using a wide screwdriver, unscrew and remove the lock screw. Then turn the nut counter CW to remove the needle/seat (.110)
Note paper gasket on both sides of the nut.


Needle/seat removed. Replace them with Viton 0.110 in. unless they are fairly new. Before you install them,
take compressed air and blow them clean while holding the needle off the seat. One spec of dirt will cause flooding.

Before installing the needle/seat, lube the needle/seat O ring with a dab of oil or the O ring will be too tight on assembly and may tear.

Turn bowl upside down and turn the needle/seat clockwise until the bowl is level, you'll check this later with the car running.


Check to see if the float is getting any fuel inside. Remove it and shake it.
Using a flat screwdriver remove the float.


Remove the from and rear (780) fuel level site screws and note a metal gasket.
Some kits today are using a plastic washer. I myself use the metal ones, because
I don't trust the plastic since it doesn't compress.
Front accelerator pump


 <--- 780-->

Using a square head screwdriver, remove the pump cover and note diaphragm orientation and spring.
If the gasket is old, it'll be hard and won't be able to flex so replace it.
Secondary Vacuum
 780--->
Side view of secondary vacuum linkage/manual choke if equipped as on the 3310.


3310 - Remove side choke mount and note paper gaskets and replace from kit.

Note the cork gasket, if this isn't installed then the secondaries will not open & you will have a vacuum leak.


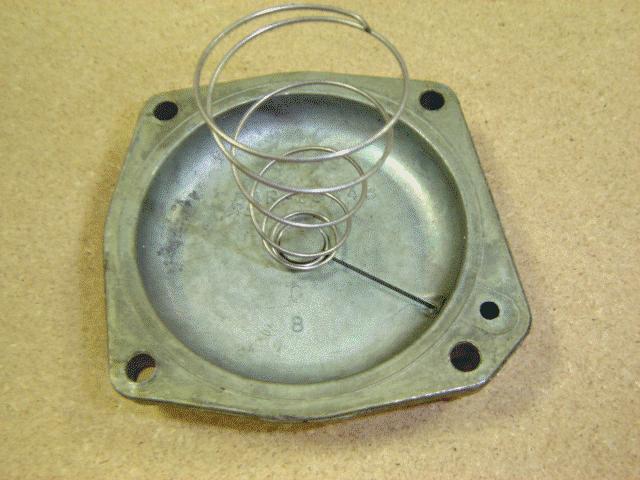

Remove secondary vacuum diaphragm housing. Note spring orientation, it snaps into the post.
Check the chart below for correct spring color (plain color are used from speed shop carbs).

Also note chrome ball will be here on 71+ Holley's
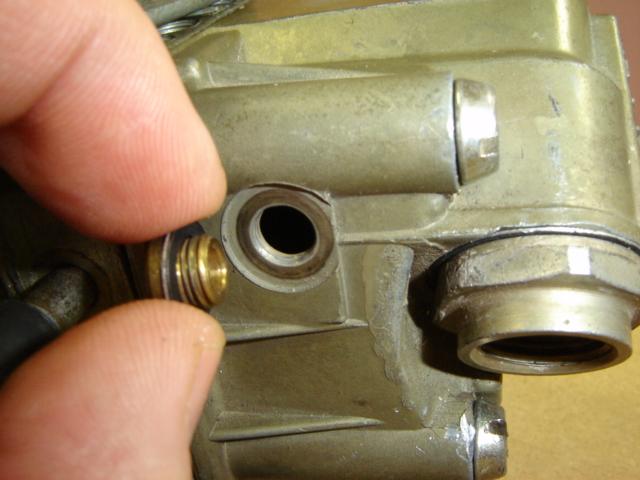
Fuel Filter

Remove fuel inlet fitting, note metal gasket. If your using the stock fuel filter then it'll be the hard brass ones.
Don't forget the spring if your using this location. If you don't want to wear the fuel line attachment bolts
even when using a fuel line flare wrench then install an inline fuel filter.

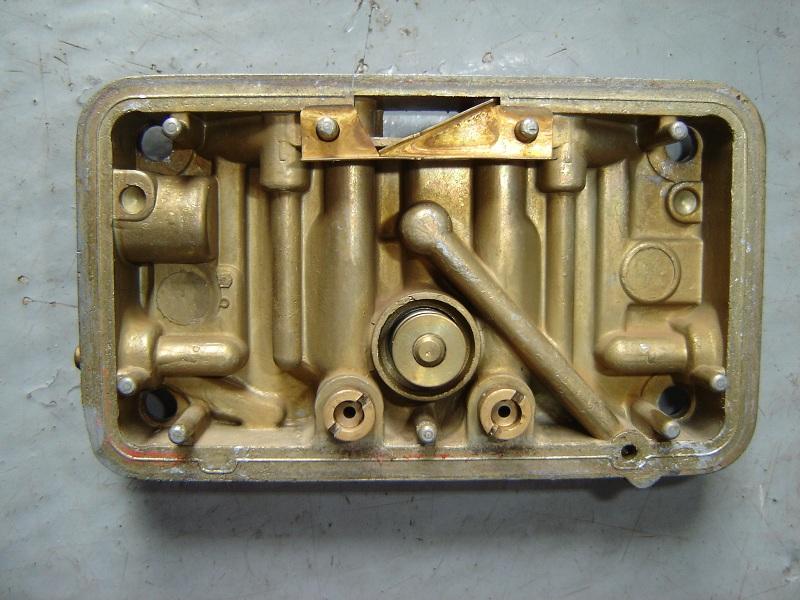
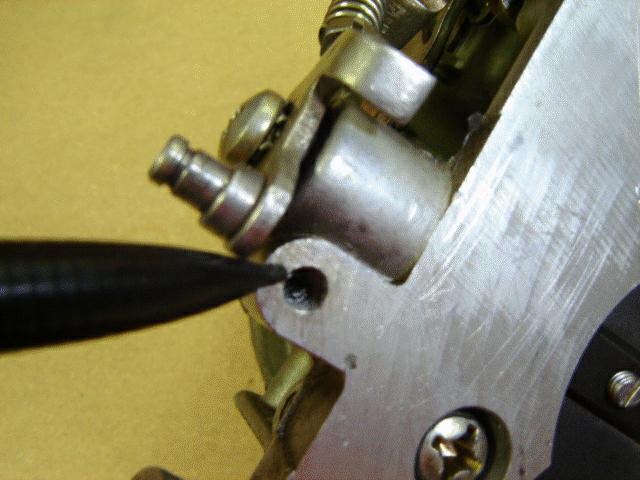
Body - using a wire (guitar string) clean out these holes
3310-2 Rear


Remove rear fuel bowl


The 3310-2 has no metering block but a plate to keep costs down, remove plate using a square screwdriver and lift and remove gasket.
For the 780 remove the bowl/metering block the same as you did for the front.
3310-2


4555


With the bowls off and metering blocks or rear plate, remove all philips screws from the throttle body and note gasket orientation.
4555


780 rear bowl/float/metering block
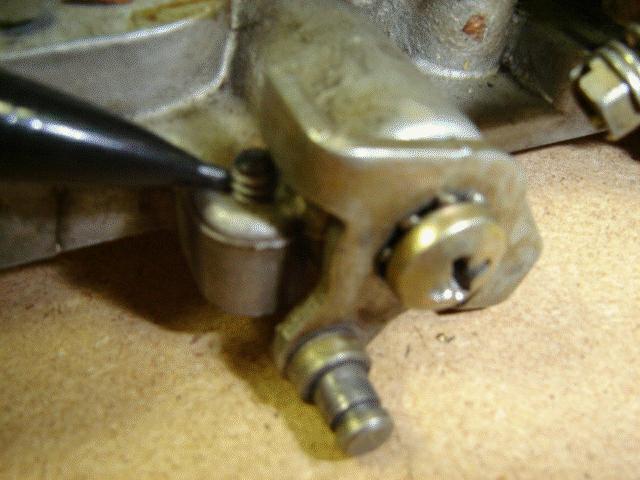
This screw is your secondary stop screw and must be set off the car, go to Step 2 in the Setup Section https://my1970z28.com/COPO/setup.htm


Remove nozzle pump screw and 2 paper gasket


Then remove the needle

Pump discharge needle orientation (paper gasket on each side of the pump nozzle)
Clean all parts with carb cleaner and assemble in reverse order and setup


While WOT is held open, using a flat screwdriver, push the lever down and take a reading, it should be .015,
if you don't do this you will have a stumble when you press the accelerator If while idling you give it some gas
and it has a stumble and the .015 doesn't fix it then you need to test the power valves. My rear one was shot when
this happened in July 2011.

Turn in lightly until they stop, turn out 1.5 turns. When car is idling, set until you get the highest RPM or
highest vacuum reading with a vacuum gauge, then do the other side then repeat the drivers side.

Remove while idling and the gas should be at the bottom of the threads. If you nudge the fender with your leg, it should just trickle out.

If gas is coming out too fast, reinstall site screw and lower float.
With car running, using a box wrench, hold nut so it doesn't turn, then loosen lock screw just enough so you can turn
the NUT 1/4 turn clockwise (this nut is connected to the needle/seat and lowers it or it can raise it to raise the fuel level in the bowl).
Rev the throttle once and wait 5 sec. Open fuel bowl site screw and check the level. If it's still too high, repeat procedure.
If the fuel level is too low, then the nut needs to be turned counterclockwise to raise the needle/seat thus raising the float.
Fuel Line Bracket


Rear fuel line support bracket
Fuel Filter
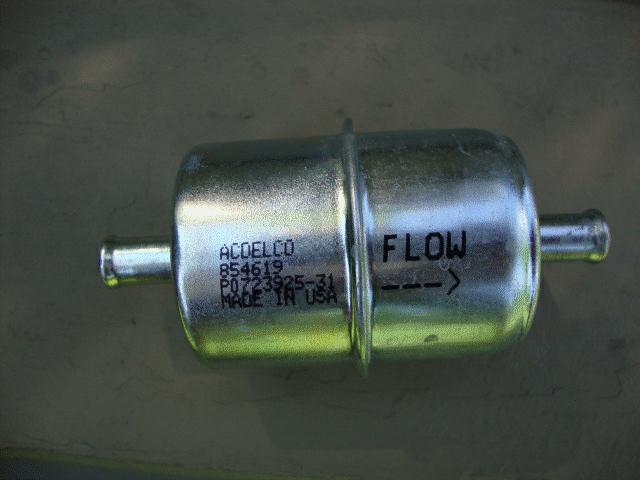
I use a 3/8 inline filter hidden under the alternator bracket.
GM GF61P part # 854619