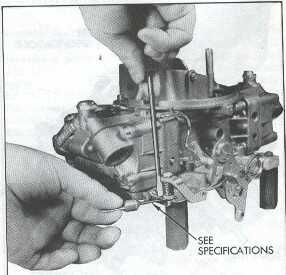

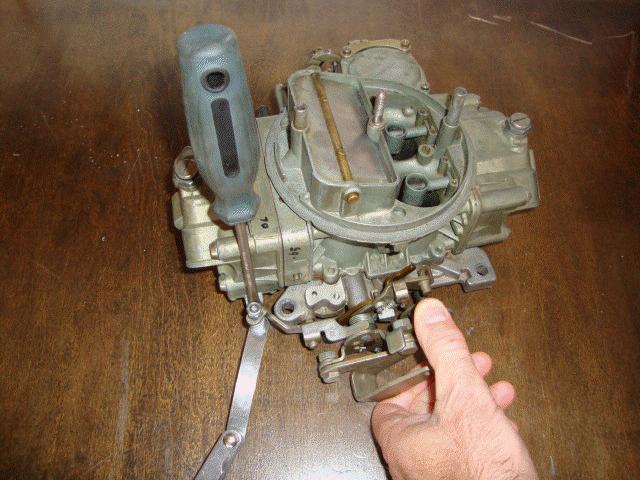
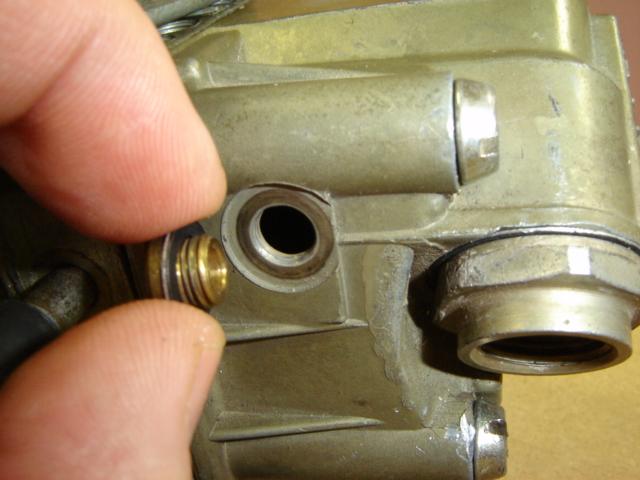
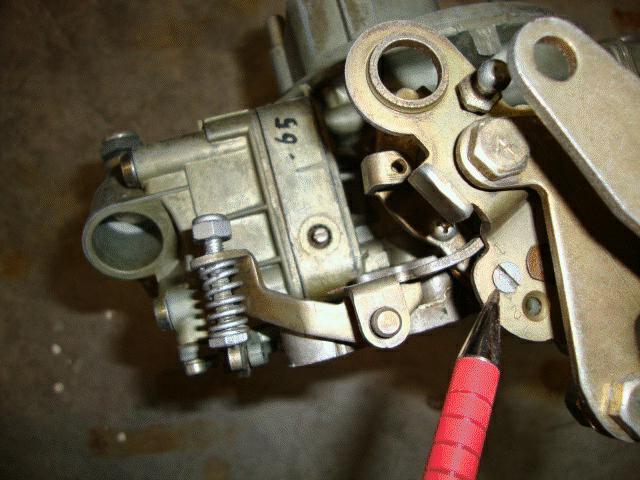
1a. Accelerator pump. At wide open throttle the pump lever should be set to .015 of an inch (feeler gauge). Undo your throttle return string if your doing this on the car. Have a friend pull back and hold throttle lever wide open as if the gas pedal is floored or tie it down but make sure it's still wide open.
1b. Using a long slot screw driver push down on the pump lever hard and hold while using your other hand measure with a feeler gauge the space between the lever and the pump adjusting nut. If you need to adjust then let go of everything and adjust the nut to get .015. Hold the bottom nut and turn the top nut clockwise to compress spring and make the gap bigger or counter clockwise to make the gap smaller.

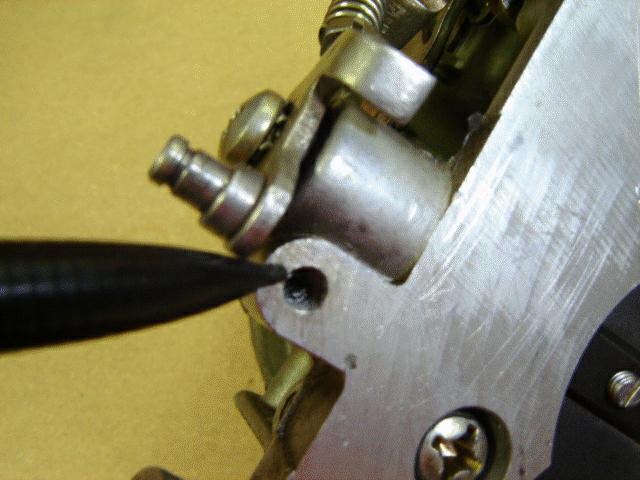
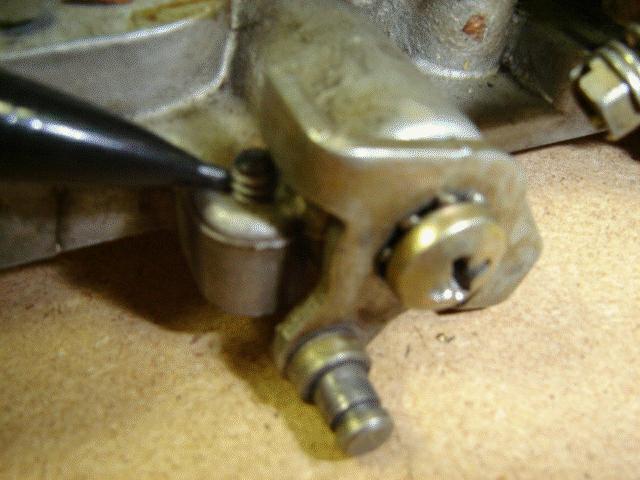
2. Secondary throttle stop screw adjustment Must have carb off car. Set as follows: Back off adjustment screw until the throttle plates are fully closed (secondaries). Turn adjustment screw until it just touches the throttle lever and turn 1/2 turn more to position the valves.
3. Float level While car is running.
Float level should be to the bottom of the fuel bowl site screws. Have a rag
handy, then loosen the lock screw a bit and hold, then turn nut clockwise to lower float level or counter
clockwise to raise. A 1/4 turn makes the float move 3/16". You can give the accelerator
a shot to hurry up the change you made. It may be hard to see the fuel at the
bottom of the site plug hole. What I do is nudge the fender a bit and
if the fuel drips out of the site plug then that's perfect.
4. Idle
Set idle at 800 rpm or 1000 or what ever your specs call for.
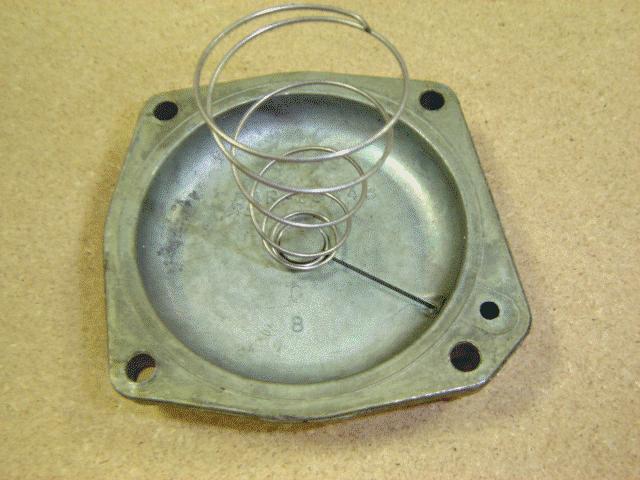
5. Secondary diaphragm spring You should start off having a yellow secondary diaphram spring to see how fast the secondaries are opening. Don't need the chrome ball in the secondary vacuum base (70 did not use one). Don't forget the cork washer on the sec vac base that mates to the carb or the secondaries will not work.
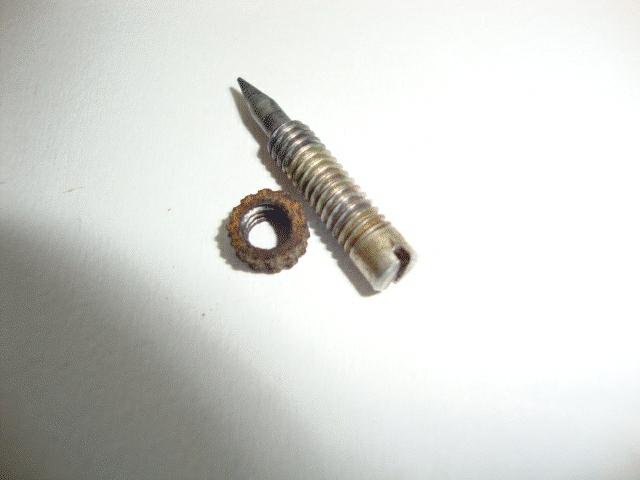
6. Mixture screws Turn in until the engine starts to stumble and back out screw 3/4 turn. If your cruising and the car feels like it's surging then richen (turn counter clockwise) the air/fuel mixture screws 1/16" on both sides and go for a drive. Do this until the surge is gone. I know you probably don't have a surge problem but keep this in mind for future problems. Some guys like to turn the screws out (richen) until they get the highest vacuum reading or highest rpm but I think this ends up being too rich. You can smell the fuel at the tail pipes at idle which means your too rich unless your car won't idle unless your on the rich side.
7.
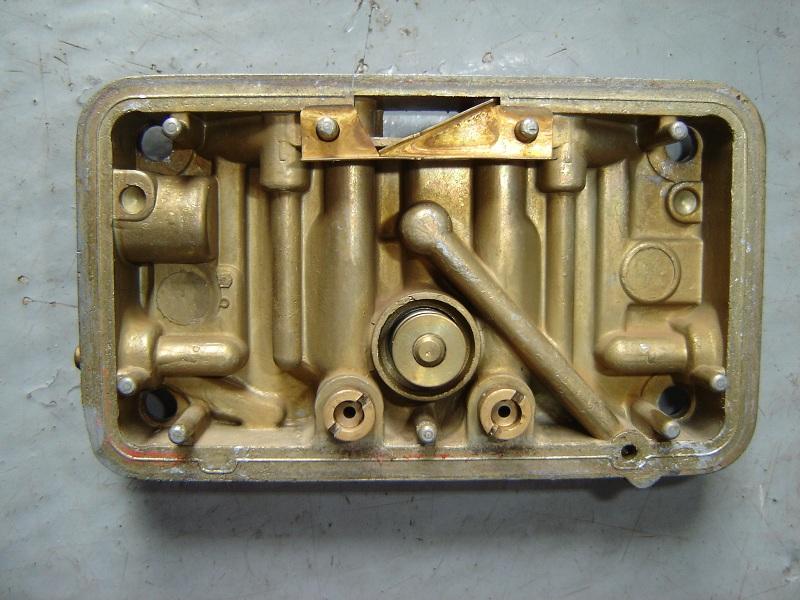
Metering Block
(To
remove metering block)
-
Remove one of the lower screws that holds the fuel bowl to drain the gas from the bowl (use a pan to catch it) don’t let the gas run on the intake.
-
Undo the fuel line to the front bowl if your working on the front bowl/metering block..
-
Pry off the bowl carefully so you don’t damage the gasket.
-
Remove metering block, careful with the gasket.
-
Use a wide flat thick screw driver to unscrew the jets.
The 2 jets go into the 2 small holes and the power valve goes into the centre hole. Remember to use a gasket for the PV and torque to specs.
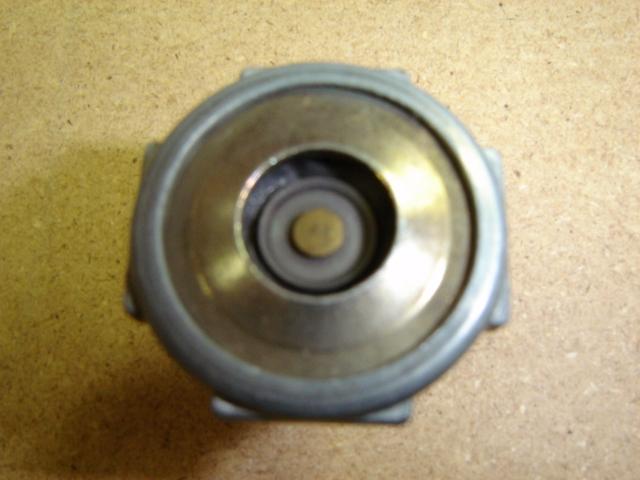
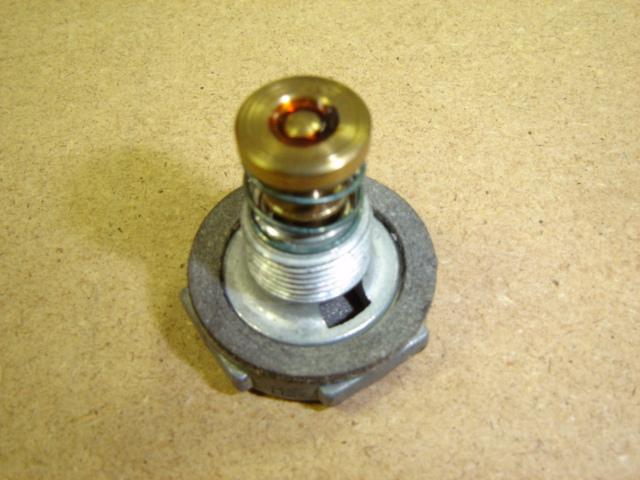
8. Power valve If you have to change the power valve then use an adjustable or socket. Place in a vise with wood on each side of the vise jaws so you don't damage it. Tighten to the following specs. For power valve with multiple drilled fuel opening, torque to 40-50 inch pounds. For power valve with 2 rectangular fuel openings, torque to 100 inch pounds.
What size Power Valve to use? To decide what size, use a vacuum gauge and measure the vacuum at idle and divide that reading by 2.
A competition or race engine which has a
long duration high overlap camshaft will have low manifold vacuum at idle
speeds. If the vehicle has a manual transmission, take
the vacuum reading with the engine thoroughly warmed up and at idle. If the
vehicle is equipped with an automatic transmission, take the vacuum reading with
the engine thoroughly
warmed up and idling in gear. In either case, the power valve selected should be
1/2 the intake manifold vacuum reading taken.
EXAMPLE: 13” Hg vacuum reading divided by 2 = 6.5 power valve. If your reading divided by 2 lands on an even number you should select the next lowest power valve.
EXAMPLE: 8” Hg vacuum reading divided by 2 = 4 power valve. Since there is no #4 power valve you should use a 3.5.
If the number is not on the side where the wrench grabs it, then look at the front face. The first digit is at 2 o’clock and the second digit is at 5 o’clock. Example: first digit=6 and second digit=5. You have a 65 power valve. When the engine vacuum goes down to 6.5 or lower, then the valve opens up and lets in more fuel in the carb.
The lower the number, the later the valve opens, the higher the number, the earlier the valve opens.
If you have a
carburetor older than 1992 (or you have experienced an extreme backfire) and
expect a blown power valve,
Use this simple test: At idle turn your idle mixture screws (found
on the side of the metering block) all the way in.
If your engine dies the power valve is not blown.
Changing the screw position for the pump cam will give you a different fuel discharge.
Accelerator Spring
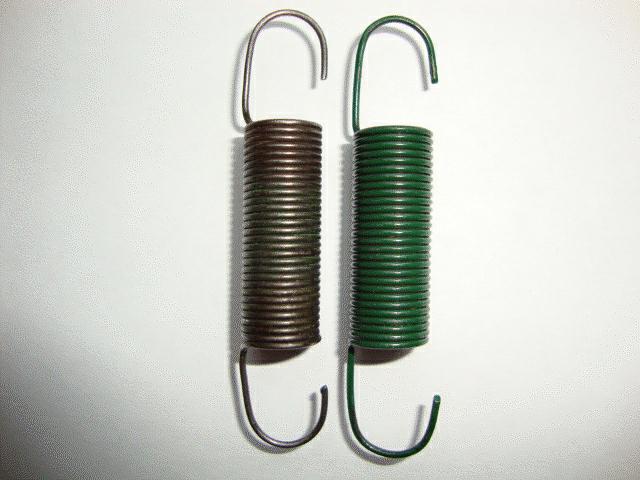
Left is original GM, Right is a repo