Last Update: Jan 24, 2015 - aligned some stuff better
I'm replacing my clutch, pressure plate, throw out bearing and bronze bushing while
the tranny is out for a refresh due to some wear See below for Clutch R&R Procedure.
![]()
![]()

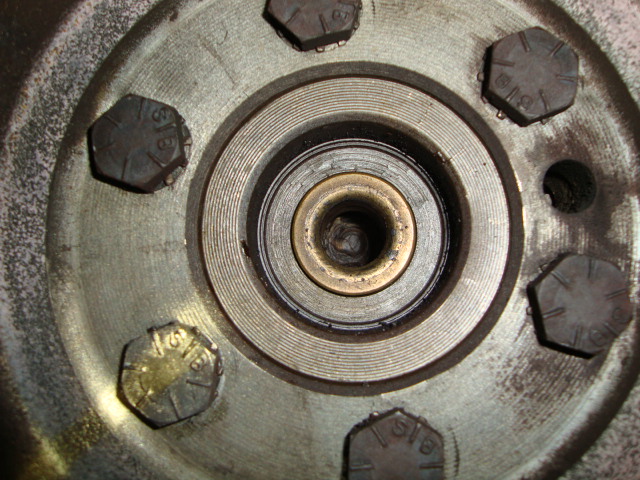
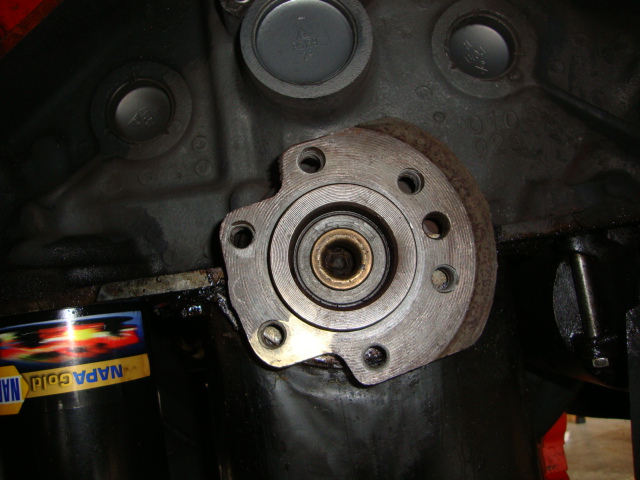


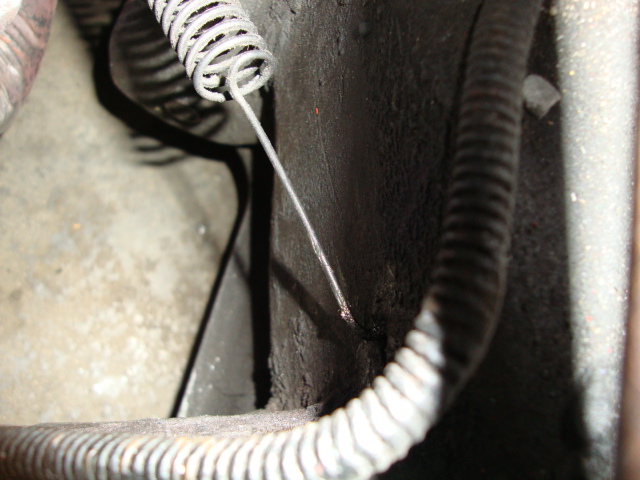
Using a grease gun, fill the rear crank bushing hole with grease. I used my old input shaft
and a 1/4" piece of steel and a dead blow hammer to force the bushing out. In the photo
you see it 1/2 out. The more the bushing comes out then the more grease you need to add
to fill up the empty space that's being created as the bushing slowly gets pushed to the front.
To install the new bushing you leave it in the freezer overnight and it'll shrink enough that
you will just be able to tap it in.
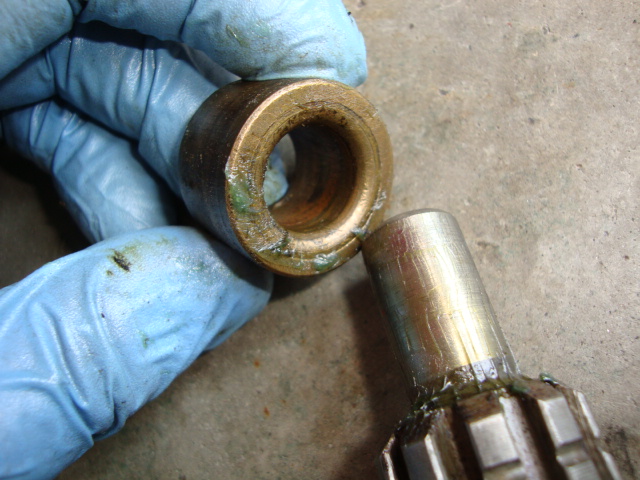
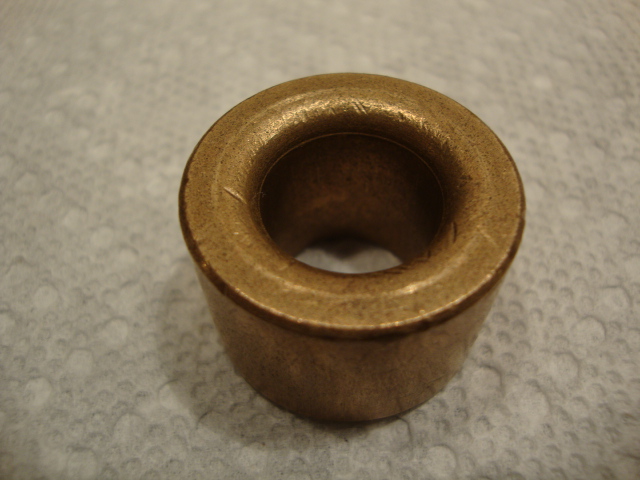
Bronze self lubricating bushing
If your replacing your clutch and bronze pilot bushing, then fill the crank hole with grease.
Then using an old input shaft, metal plate and hammer, hit the plate with the input shaft
in the bushing. The bushing will slowing slide out from the pressure of the grease forcing it
out. As it starts to slide out you'll need to keep adding grease to fill up the empty space.
Then keep hitting the plate until the bushing is out.
They say before you install the new bushing to put it in the freezer over night to slightly shrink it.
Using the old input shaft you can hammer it in the same way. I ended up switching to the metal
hammer for more hitting force than the sand filled rubber one. Hammer it in so it flush to the
outside of the crank surface. And the beveled side faces the tranny.

Crank side is the top here
Tranny side is the top here
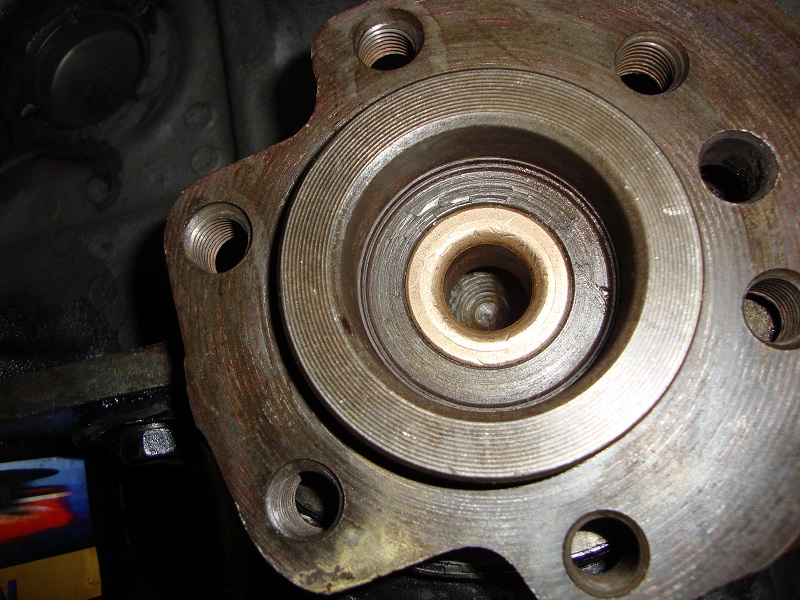
Installed bushing
Note:
Don't lube the bronze bushing for the input shaft to ride on. It lubricates itself
believe it or not. I didn't lub the outside either when I hammered the new one in.
Bushing Dimensions
Note, there are China made bushings in stores that are the wrong size and they
won't fit the crank hole when you go to hammer it in. I left mine in the freezer
overnight before hammering it in. Not sure if it helped.
Input shaft where bushing rides is .590".
.591 ID of bronze bushing
1.096 OD of bronze bushing
.752 length of bronze bushing
Bellhousing
![]()


![]()
![]()
![]()
![]()

Norwood bell overspray engine paint on a survivor 70 Z28.
Bell Cover
![]()
![]()

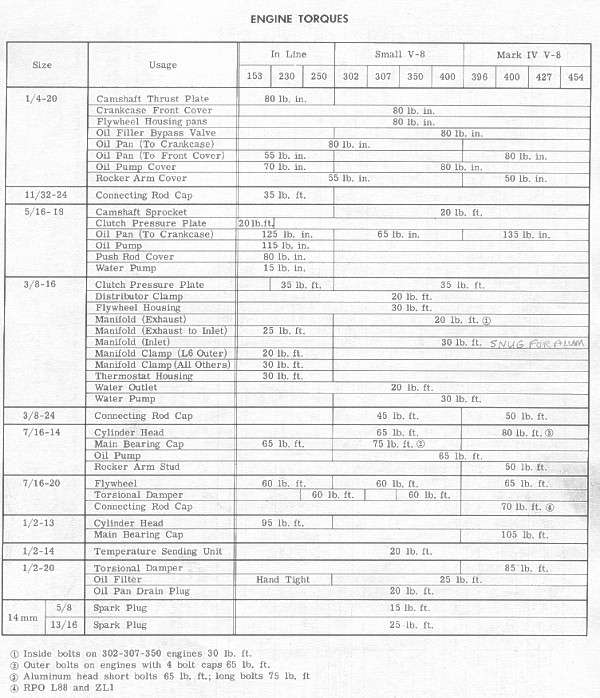
I used my M20 10 spline input shaft to align my new clutch kit. I first used the plastic
loose fitting tool that came in the kit, so after the 2 top bolts were installed loose on
the pressure plate I held the bottom part and removed the plastic tool and slide in my
old M20 input shaft since into the new bronze bushing since the real shaft is a tighter
fit with no slop.
If you can use your current one if your rebuilding your tranny. If your not rebuilding the
tranny and just doing the clutch then it's worth while to phone some tranny shops to
see if they have any worn out input shafts with the same spline as yours.
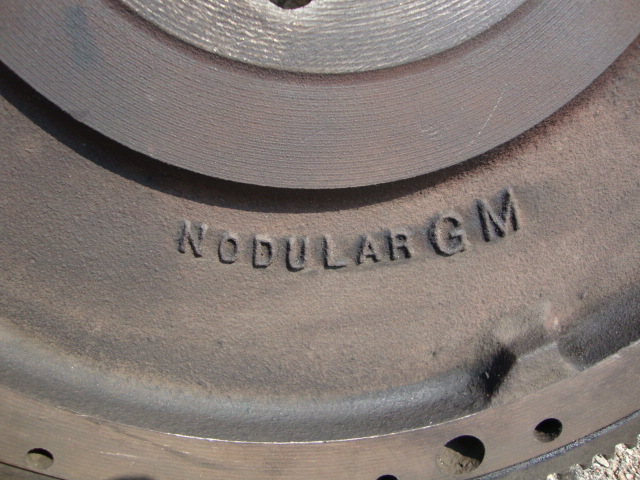
Flywheel 168 tooth
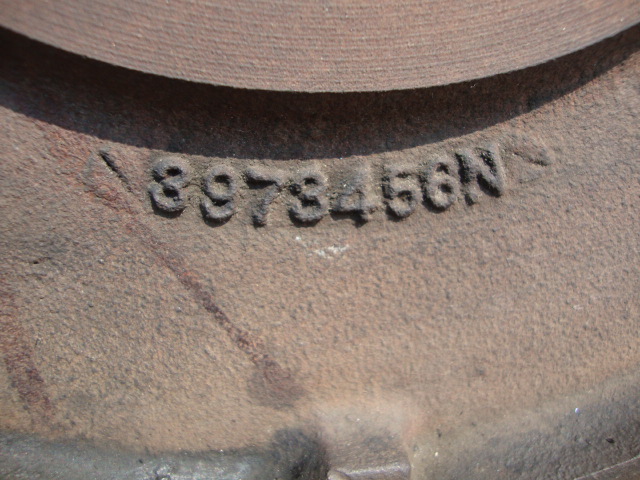


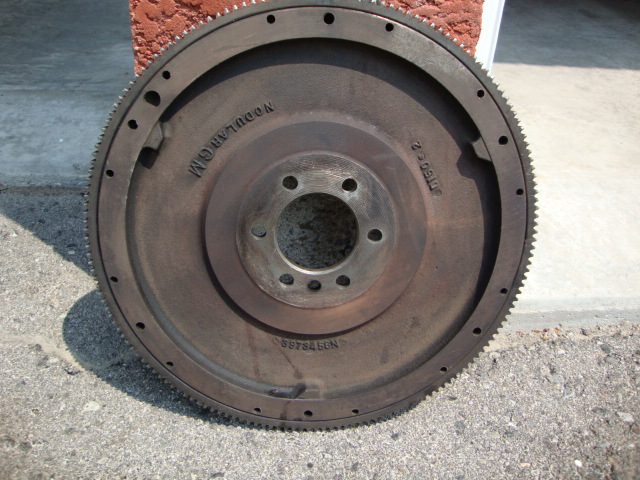
Part No 3973456N
Date code April 15 1970. My car is a May (05E) car.
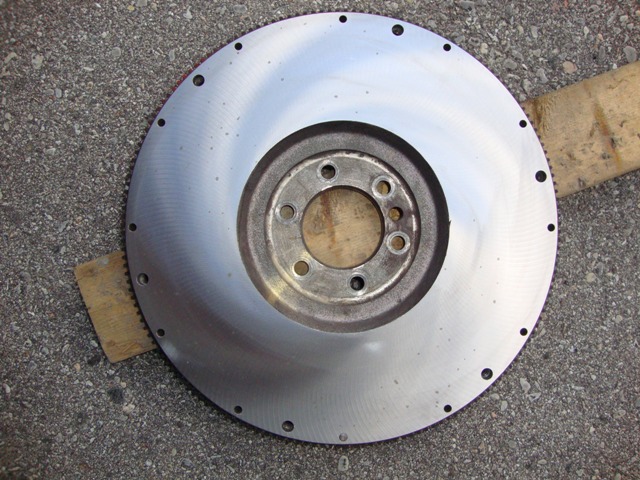
flywheel resurfaced and balanced

New ARP Flywheel Bolts and New GM Bronze Bushing
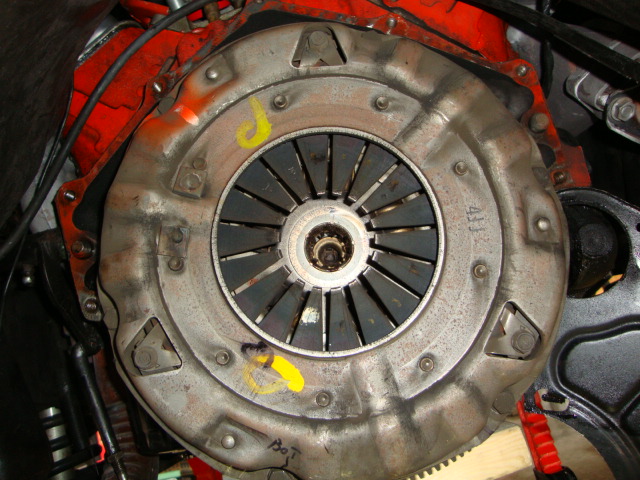
Old Clutch Kit


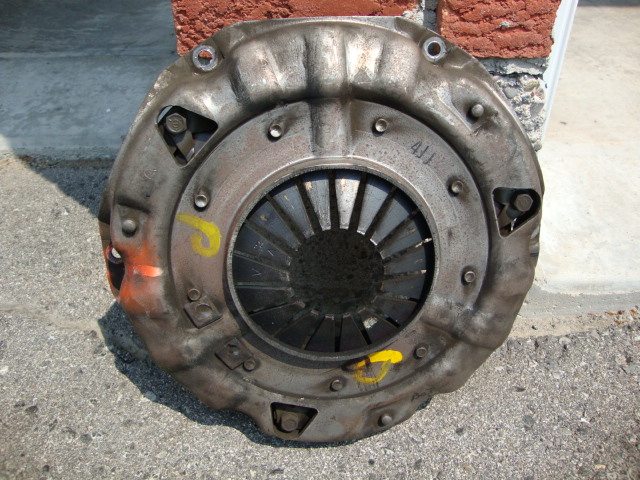
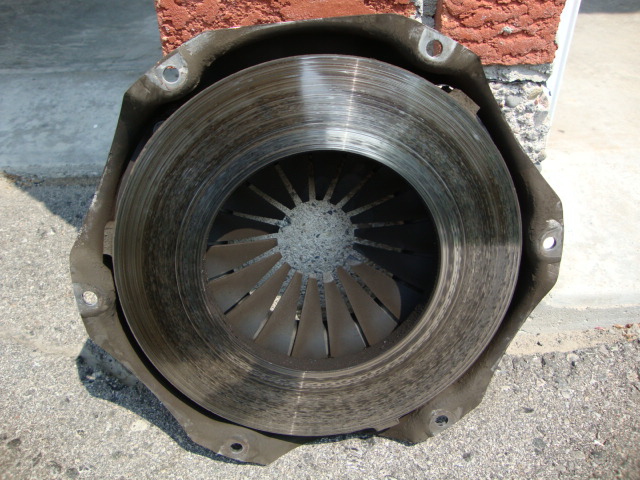
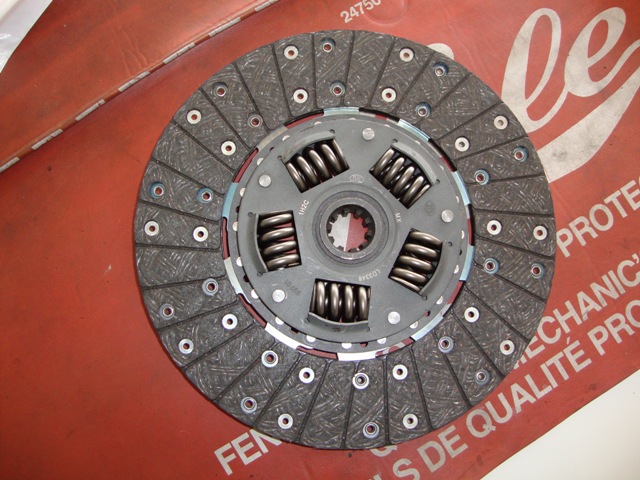
New Clutch Kit
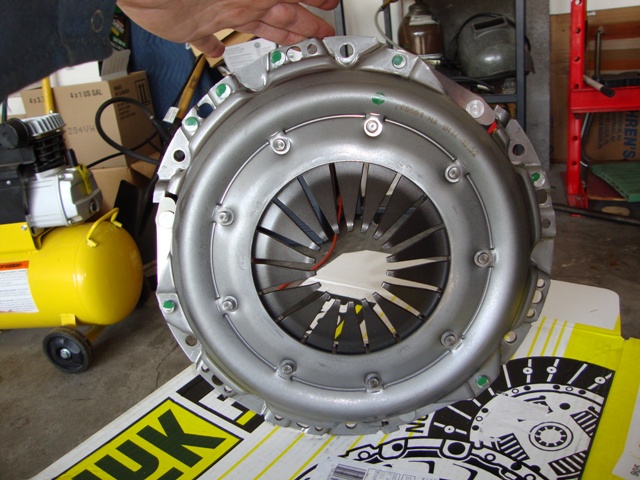

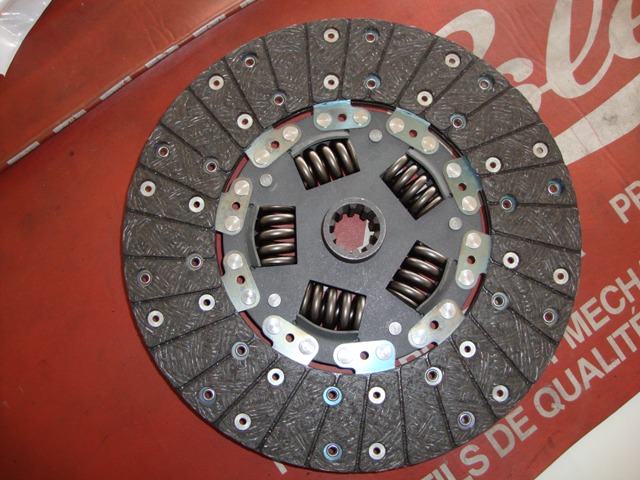

Bought a Luk Clutch Kit 04-049

I first used the cheap loose plastic alignment tool that came in the clutch kit until I
could get the top 2 bolts in, then holding the bottom with one hand I removed
the plastic tool and replaced it with my old input shaft.
DO NOT use the plastic POS tool. It's sloppy and loose. If you want a tight perfect
alignment then get one from your local tranny shop or if your rebuilding your
tranny then use the input shaft.
Hays Self Aligning Throw-out Bearing (I didn't like)


I thought I'd try a self aligning TO bearing this time.
Hays said that It doesn't matter which way the pin faces.
Luk and GM Throw-out Bearing
Don't use the TO bearing that the Luk kit provides cause the part that slides on the
front bearing retainer is made from plastic and has ridges on the inside that in my
opinion would cause a bump movement.


Luk and GM TO Bearing
Since my motor is out for a rebuild I found a GM TO bearing. See Link
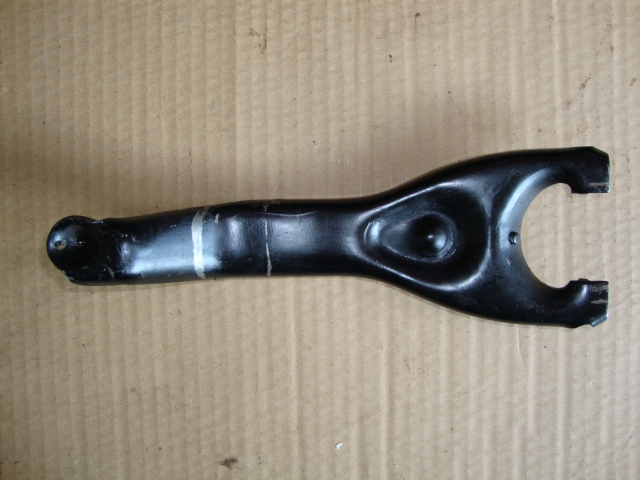
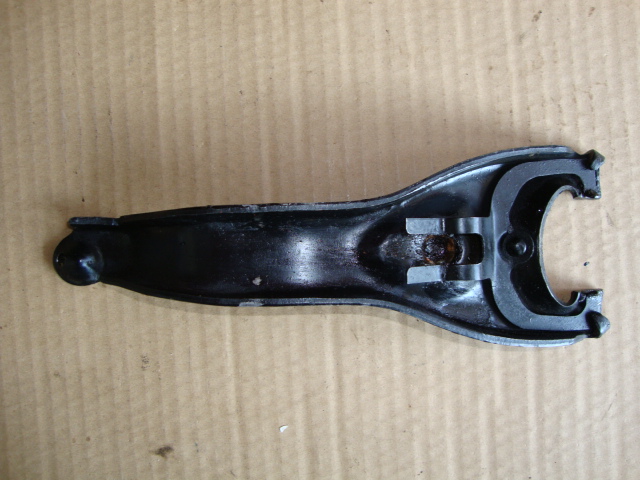
Clutch Fork & throw out bearing


Clutch Replacement Procedure
Take pictures so you know how the parts are mounted before you remove them, especially the tranny linkages.
-Jack the car up and you'll need a tranny jack on 4 wheels to slide the tranny out and back in
![]()
-get a small bottle jack or scissor jack with a piece of wood on it and place it under
the oil pan to stop the engine from tipping rearward and busting your
motor mounts etc
-drain the 80w-90 gear oil out of the tranny
-mark with paint the orientation of the universal joint and yoke position
-remove the drive shaft
-remove the cross member
-remove the 4 trans bolts mounted to the bellhousing
-slide the tranny jack straight back (I used guide bolts with the heads cut off
when I slide
the tranny back in so the clutch disc does not get bent from up and down movement
or side to side movements
-slide the throwout bearing out of the clutch fork (note the orientation!)
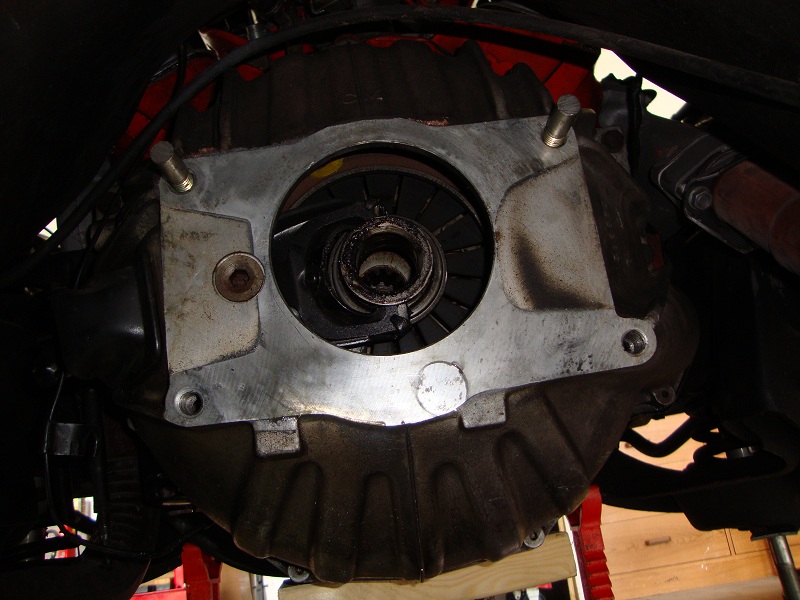
-remove the bell housing bolts and bell housing
-remove the pressure plate bolts and pressure plate (watch out for the clutch
disc sliding down.
-remove the flywheel
bolts and flywheel (weighs a few lbs here) note orientation if you have
a guide pin in the crank.
If you have an electric or air impact gun then use it so the flywheel doesn't
turn.
-fill the crank hole with grease (mine is partially out from hammering when I
snapped the pic)
I used an old input shaft and a 1/4" piece of steel and hammered on the bushing,
as it slowly
comes out after a few blows you'll need to fill the empty space up with more grease.
Hammer away until it comes out.
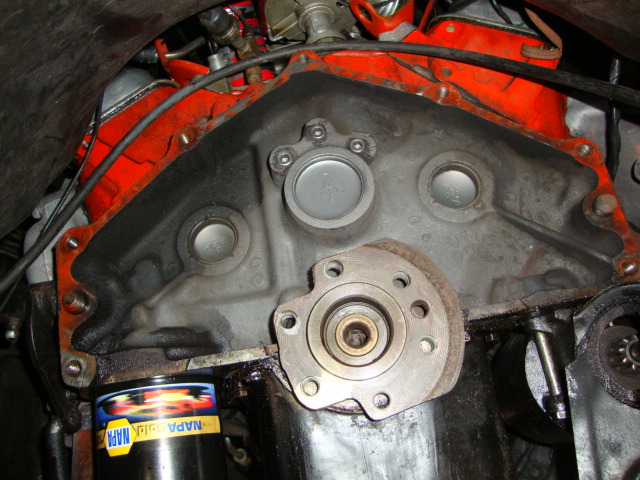
-clean the grease out and do not lube the bushing, it's self lubricated and hammer the new
one in (a socket can be used with it sitting on the flat edges. You can leave it in the freezer
over night, they say it shrinks a bit.
-no more than a 1/16" should be sticking out, do not hammer the bushing all the
way in like
some do. You can go flush if you want.
-go to a tranny shop and see if they have any scrap input shafts to use for this
process and
to line up your clutch disc rather than using the POS plastic tool.
tranny side is up in the photo (see the bevel)
Installed
![]()
-clean the crap out of the bell housing
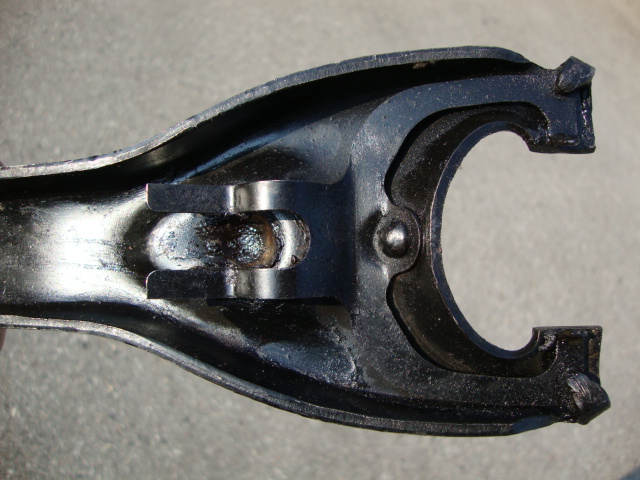
-slide the fork out and clean the ball and ball surface on the fork. Inspect for wear and relube with grease.
-add a bit of grease on the 2 sides where the throwout bearing rides and reinstall into the bell housing
-resurface flywheel and balance
-install flywheel, I used new ARP flywheel bolts (no star washers needed), lube
the face a bit under the
bolt head to get a better torque reading
GM torque specs
Flywheel installed using ARP bolts
-mount clutch disc with the POS plastic tool for now (note disc is labeled which way faces the flywheel)
-mount the pressure plate with a top and bottom bolt loosely and put pressure on
the PP
so you can remove the plastic tool without the disc moving too much and replace it with a
real input shaft for a tighter and precise alignment of the disc and PP (pressure plate).
-torque the PP to specs (tighten alternating like your wheel nuts, I increase the torque by 5 ft lb
increments for each bolt until I'm at the final torque, this needs to fasten in equal amounts so
the PP installs flat.
-install bell housing and torque to specs and slide TO bearing onto the fork
-put tranny into neutral so you can turn the tail shaft spline until the input shaft spline lines
up with the clutch disc splines,
-apply a tiny amount of grease to each deep spline on the input shaft so it can slide into the
clutch disc easily.
If you apply way too much then it'll get on your PP and your clutch will slip.
-apply a very thin coat of grease on the front bearing retainer where the throw out bearing rides.
-slide tranny in place, it should slide all the way in, DO NOT use the 4 mounting bolts to push
the tranny into the bushing or you may break off a trans mounting ear.
Clutch Z-bar


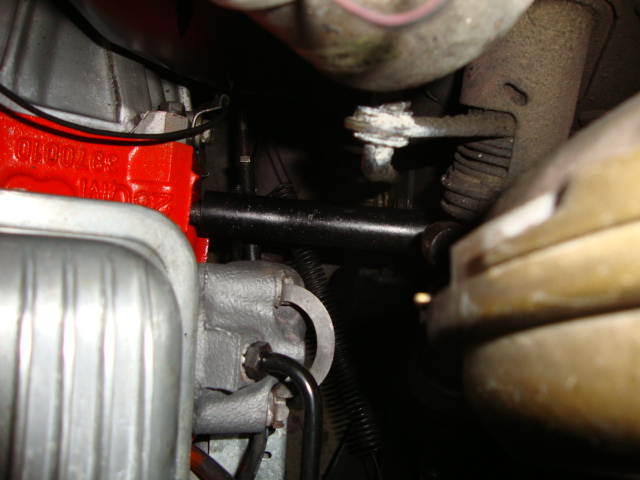


Clutch free play should be 1-1/8" to 1-3/4" per GM Manual for a 70 Camaro.